Menu Home About Tutorials Style Shop Buttons

Wednesday, April 21, 2010

Senior Portraits and a Few Tips

The other day I had the fun opportunity to take my cousin's senior portraits. She is graduating from high school soon and wanted pictures for her graduation announcements.

It was so fun to have pictures of her involved in what she likes instead of just the standard school photo package.


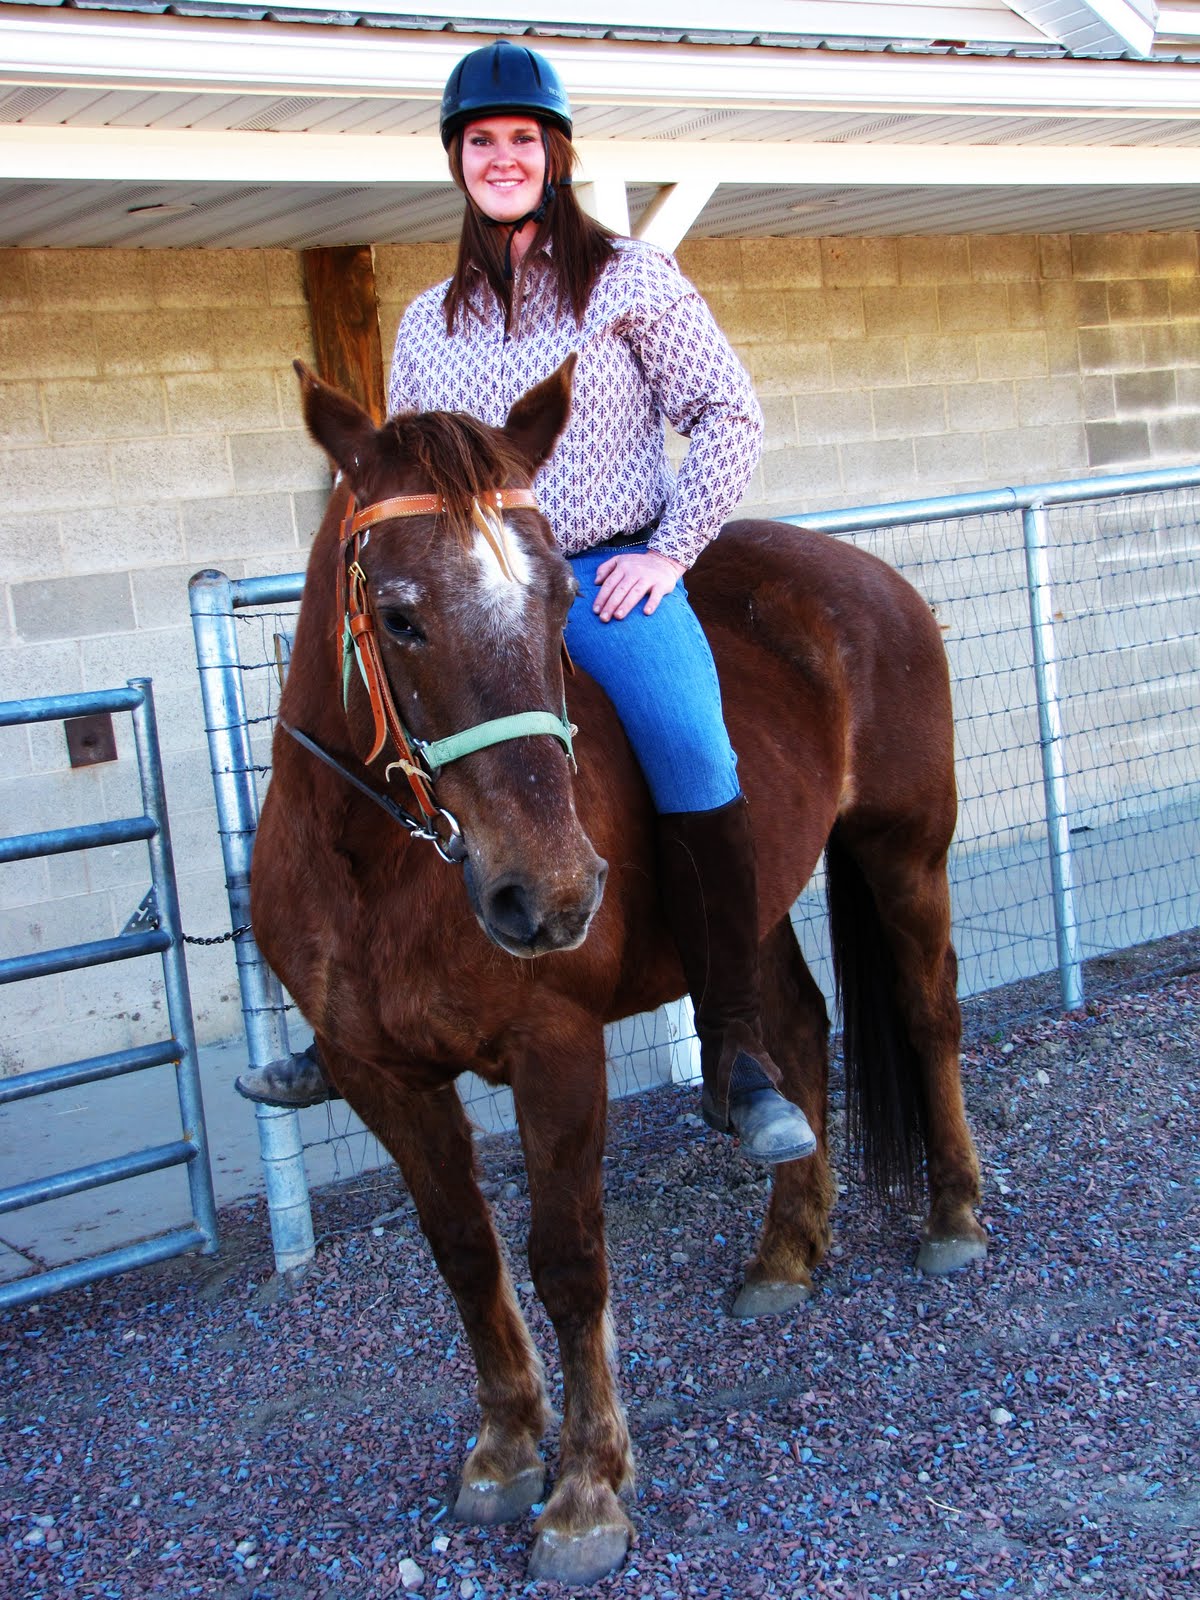
I didn't think the fence pictures would turn out well but I really like this one.


This one would be great for the yearbook. Too bad it's too late!


I am very much an amateur photographer but here's a few tips I have picked up along the way for doing portraits:

1. Take pictures in the shade. Although it may seem like you should take the picture in the bright sunlight, this creates harsh lines and shadows on a persons face. Take photos on sunny days, but in the shade. Then brighten the photo on the computer if needed.


2. Taking pictures from above someone is always flattering. Taking pictures from below someone is not flattering. It makes them seem large and even somewhat awkward. I love having brides sit down with their wedding dress all around them. Then, I climb up on something tall and shoot down on them. Works like a charm every time! (See the first picture for an example. I tried to move it down here but can't because Blogger is being stubborn!)


3. It is not always best to center the person in the photo. Follow the rule of thirds when composing your shot.


4. Say really stupid things to make the person smile naturally. I attempt to crack jokes or I act like some famous Hollywood photographer trying to get real smiles. They are so much better than posed or fake ones.


5. Let your subject suggest poses and shots. Often times, these are some of the best shots because the subject feels comfortable. (The fence shot above is an example of this. It was her idea, I didn't really think it would work.)


Thursday, April 15, 2010

The Boutique is here!

First off, welcome new readers! It is so great to have you here. I appreciate all of the comments!


If you didn't already know, this weekend I am selling my items at my first ever boutique. I am nervous! I drove up this afternoon and set it up. There were so many professional looking booths there already! We'll see how it goes!


Here are a few items that are available at the boutique that I haven't listed on Etsy yet.

Washer necklace


Summer fabric flower necklace


Turquoise headband


Nautical headband


Shoe clips (sorry for the sideways picture)


My Etsy shop will be closed this weekend while everything is at the craft show. I will open back up Monday and will add the new items that didn't sell over the course of the next week.
(And then I can finally blog about something besides this show!)


These pictures are terrible because the sun was shining directly in on the table, but this is my display table!


The show is in a model home so yes, that is a crib in the background.

My display may not be as professional as some of the other vendors but it didn't cost any money. The "table cloth" is a sheet, I borrowed some of the items from my mother and just used what I already had on hand. I made the flower clip stand myself and will be posting a tutorial on that in the next week or so (hopefully).


Wish me luck!

Monday, April 12, 2010

True Bargain Shopping

Why is it that "bargain shopping" articles and TV segments always feature expensive clothes?

A couple of days ago I was watching a local morning show on this very topic. They were featuring "bargain" capris and shorts for the low low price of $45. Are you kidding me? $45 is bargain price for a pair of little denim shorts?

Another day this past week I was reading a magazine article in which the author was promoting a tote bag that could fit all her personal and mommy items so it was nice and large. Only set her back $99. Woah! I could find bag just like it at Target for no more than $25.

Why don't they feature deals like these? (All my true stories)

-A pair of Adidas running shoes for $15 on clearance at Kohl's.
-A cute red Candies purse for $9 at Kohl's.
-This shirt that I refashioned from Old Navy for a total of $5.
-The $.97 layering tanks at Old Navy right now.
-The amazing $8 necklaces from Charlotte-Russe (I would link there but they aren't available online anymore).
-A couple of months ago there was a buy 4 get 1 free sale at Down East Basics. I bought four layering tees and got a free necklace!
-The shoes I got for my wedding (pretty white, flat sandles) from Payless for $4. FOUR- DOLLARS. That's right folks, my wedding shoes were only $4 and I am proud of it!


-Or just last Friday the buy-one-get-one-for-a-penny sale at Wet Seal where I got 2 shirts for $14. Then, I bought another shirt at Forever 21 with a gift card so I paid $2 for it. That's 3 shirts for $16.

Now THAT'S what I call bargain shopping!

Saturday, April 10, 2010

Burned Flowers

So... I never lit a match until I was 24 years old. And, um, that was yesterday. These flowers are made by melting the edges near a flame. I had made them once or twice before but had to have my husband light the candle. I volunteered to make some for my brother's wedding if his fiancee wanted them for her bridesmaids. I wanted to practice some more in case she wants them and decided that I wasn't going to be able to wait around for my husband to light the candle. So, I finally lit a match! Kind of pathetic, I know.


I do like how the flowers turned out. I am going to attach them to alligator clips and headbands for my upcoming craft show.


So pretty for spring!

Click here for a tutorial from Mary Janes and Galoshes to make your own!

Thursday, April 8, 2010

Anthro Inspired Pink and Yellow Necklace

DISCLAIMER! I know that my necklace does not look exactly like the Anthropologie one. I, of course, wanted to make it unique, but I also wanted to make with supplies I already had. I didn't want to spend any money on it!


Here is the Anthropoligie original:


Here is my necklace:
(It looks cuter on, see below)


They are both the same length but I didn't have enough beads so I have more chain and my necklace looks longer.


You need two strands of embroidery floss or other cord at least 30 inches long each.


I used 12 round glass beads, and wanted to use the coral beads pictured below.


You also need some chain to make the necklace the right length.


String one bead on both strands of floss. Pull it down to the center of the floss.


Tie knots on both ends of the bead. I crossed the floss pieces over each other like I was tying my shoes. I used triple knots to make it thick enough.


Continue to add beads, knotting between them until all the beads are strung.


The coral beads wouldn't fit on the floss. The hole was too small. So instead I used pink beads like the Anthro necklace. I used 2 dark pink and 6 light pink beads on each side.


String the colored beads on. Be careful to hold both ends. My beads fell off several times while I was stringing!


Tie the floss onto the chain with several good knots. You might want to put a little glue on too. Trim the ends of the string. Do this on both sides.


Attach a clasp in the middle of the chain and voila! You have a cute spring necklace!


If you make one I would love to see it!

Linking up to

giveaways

Monday, April 5, 2010

Fabric Rose Cards

I am in a card club in which we get together once a month and exchange handmade cards. Below are my cards for this month (actually last month because I missed the March get together). It was a dismal snowy April day and I was needing some bright colors!

I think this one will be for a my sister-in-law to-be's bridal shower. Her colors are pink and orange. I always make one card for myself to keep.


This one looks like Valentine's Day. Oh well.


They were so easy I don't think a photo tutorial is neccessary, but here's some step by step instructions:

1.Make card from card stock (cut an 8.5" x 11" paper in half and fold).

2. Cut colored paper a little bigger than half the height of the card and attach.

3. Trim ribbon to the width of the card and attach. (I usually just tape it inside the card the lazy way.)

4. Make fabric rose (here is a tutorial).

5. Stick the brad through the rose and hot glue if necessary.

6. Hot glue the flower to the card.

7. Affix stickers or stamp in the bottom right corner.


A few of the places I am linking up to!

Making

DIY Day @ ASPTL


Spring break!

I just finished entering all of my expenses for the year so far on outright.com. It was kind of sad because I haven't been making as much money as a I thought! But at least now I know where I can cut expenses and promote sales. I have been putting all my efforts into getting ready for the boutique (and doing some private work for a friend) and I have really let my Etsy shop slip. I only had 7 sales in March versus the 15 sales in February. But oh well. I am really counting on being successful at this show so wish me luck!! (Later this week I will post pics of some of the goodies I will have for sale to tempt you to come to the show!)


I am on spring break this week so I really hope to get back to this blog and finally post a tutorial or two.
 

©2011 All Rights Reserved | Website Designed by Website Design Credit

Powered by Blogger